This wasn't my most successful baking venture... scroll down to see the step-by-step and verdict on these diet cupcakes!
Curtis Stone's 100 Calorie Vanilla Cupcakes
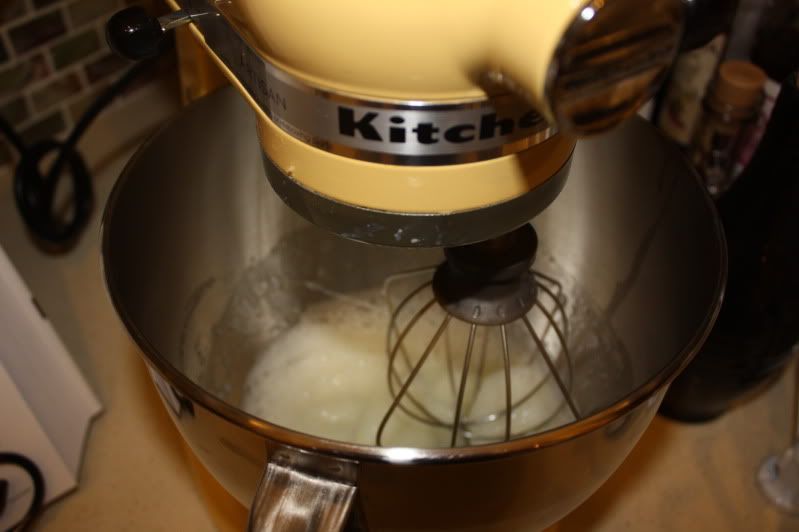
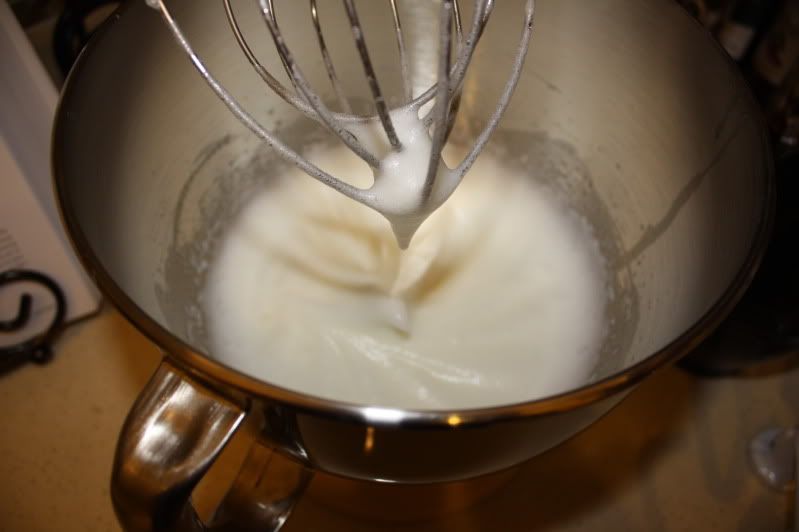
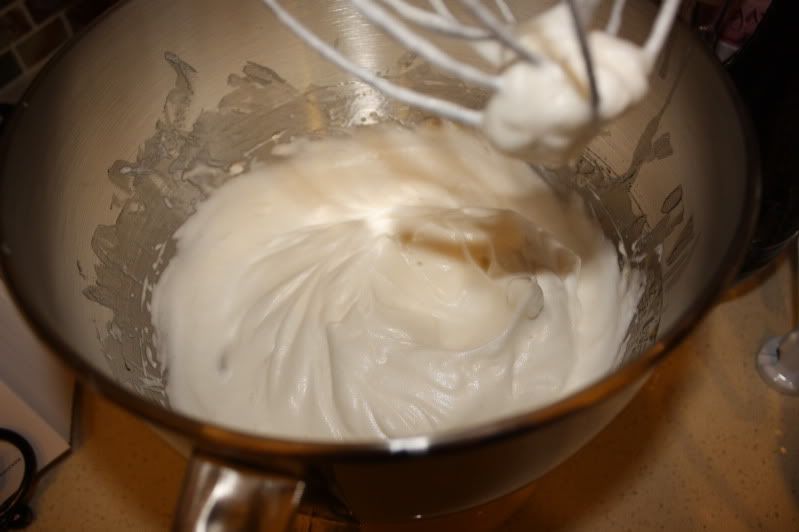
Preheat the oven to 325F. Place 5 egg whites in a bowl and whip the whites using a mixer on medium speed for 3 to 4 minutes or until the whites begin to lighten up and hold their shape.
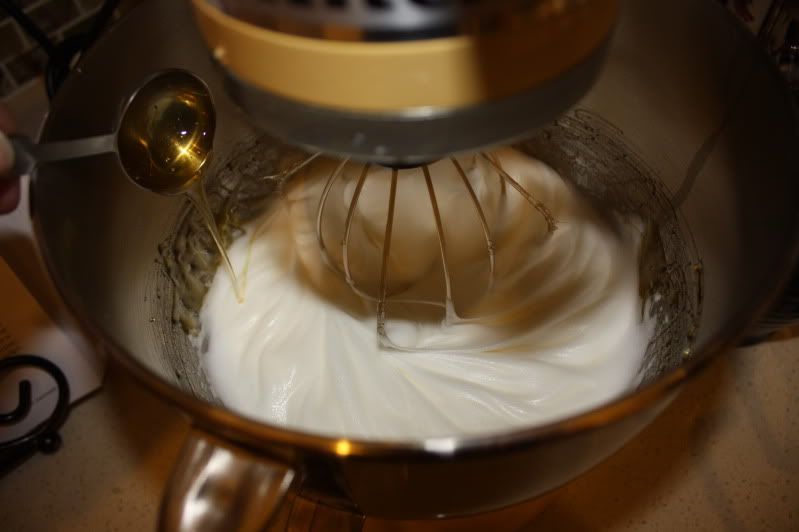
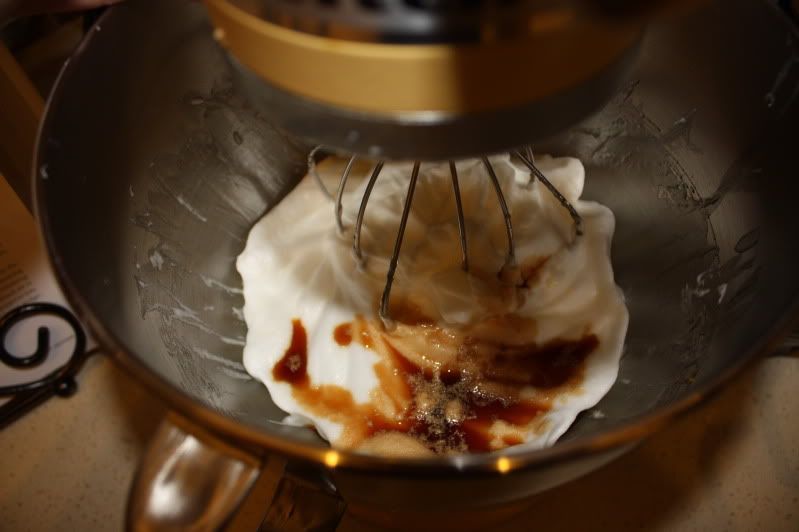
Increase speed to high and whip in the salt and honey until the whites hold a soft peak,
then add the vanilla extract.
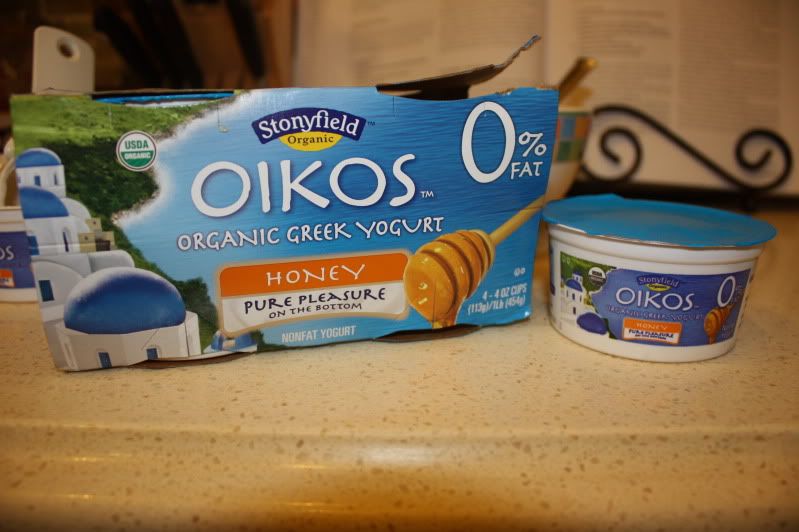
Fold in the yogurt. The recipe called for 1/4 cup of greek yogurt. I had on hand Oikos 4oz. greek yogurt with honey, so I used one container of that and just added a little less honey than required.
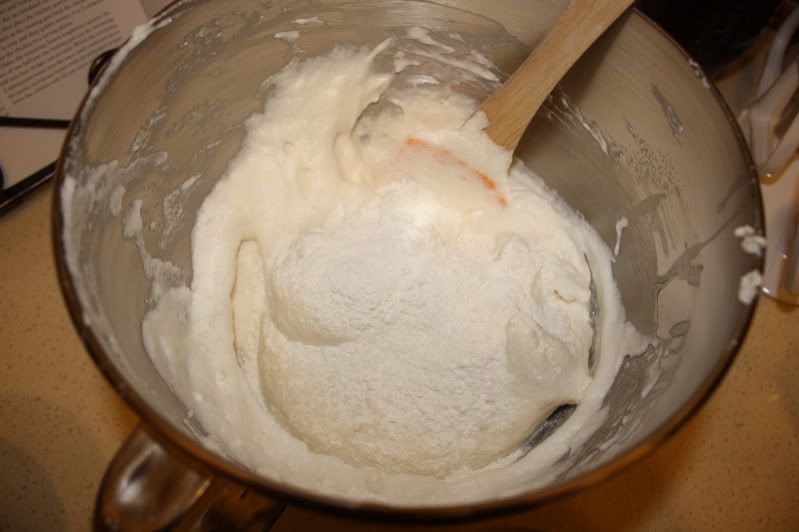
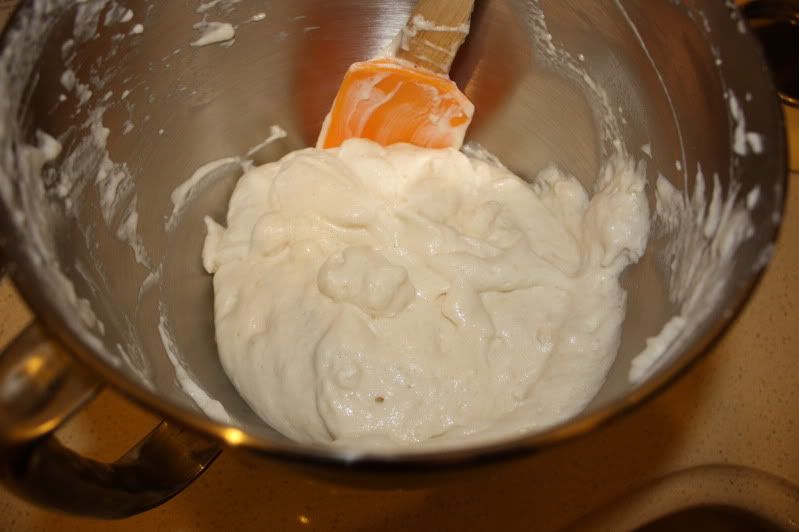
In a separate medium mixing bowl combine the flour and baking powder and mix well. Sprinkle the dry ingredients into the egg whites a little at a time, gently folding them in with a rubber spatula. Now, I've read a bunch of other reviews of this recipe online and a lot of people said that their cupcakes turned into hockey pucks. It's very important during this step that you are very gentle and delicate while folding the flour into the egg whites. You want to keep as much of that air that you just whipped into them as possible.
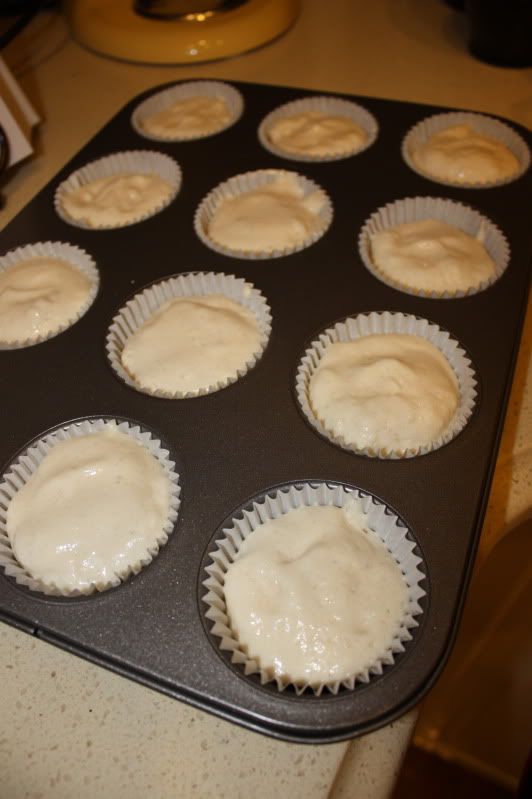
Once fully incorporated, scoop the batter into cupcake tins lined with cupcake papers. The recipe called for 14 cupcakes, but I didn't feel like waiting around for 2 extra cupcakes to cook since most muffin tins only hold 12. It seemed to work just fine this way.
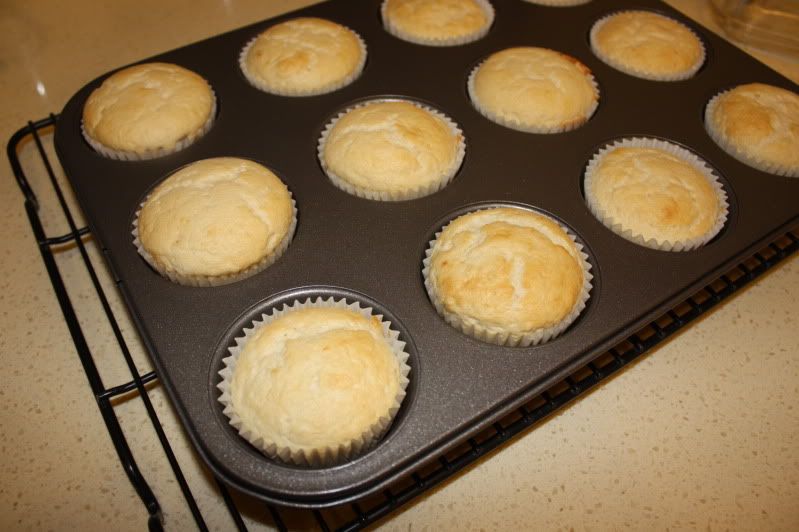
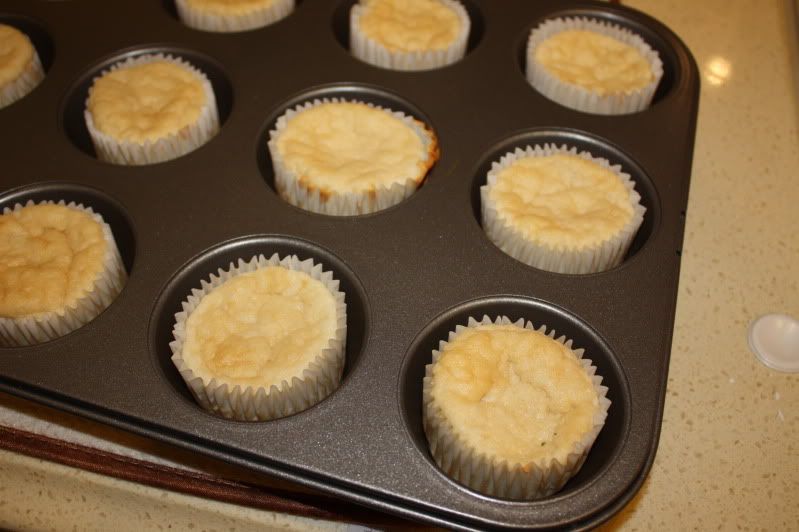
Bake the cupcakes for 15 to 20 minutes or until they have colored and
gently spring back when pushed with a finger. Remove from the oven and cool the cupcakes at room temp.
They look good right now, don't they? Well...
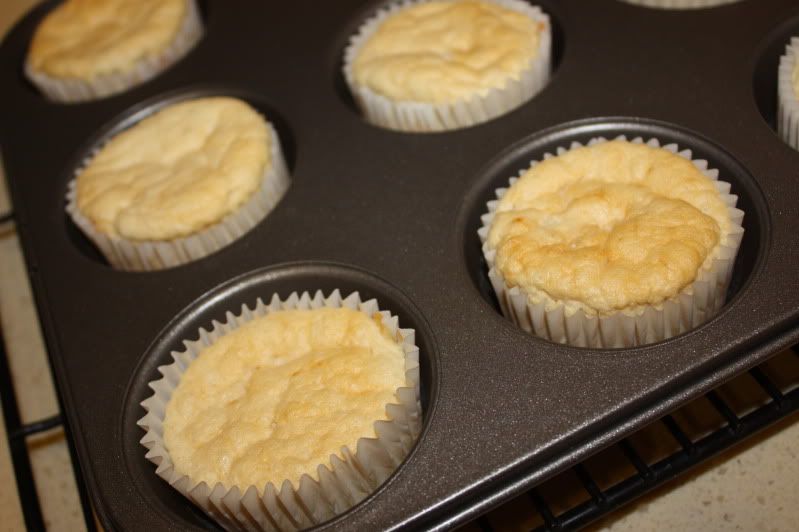
This is what they look like after a few minutes of cooling. They shrank down a bit. Essentially you're making an angel food cupcake and when you make an angel food cake, you're supposed to let it set upside-down to keep it from falling. Too bad you can't do that here.
His version called for a "frosting" made out of only non-fat cream cheese and raspberries. I wanted to do something more seasonal and tried to make a pumpkin cream cheese frosting.... That didn't work so well. I used 1/2 cup canned pumpkin puree, 8 oz. non-fat cream cheese, some Splenda, cinnamon, ginger, and nutmeg. There were 2 problems. The spices had a really muddled flavor and added a weird texture. Also, I think I added too much pumpkin puree and the moisture from that made the topping too watery to frost with. Back to the drawing board...
I spent some time searching for another light/diet frosting option and stumbled upon the
Flat Belly Diet Maple Frosting. Maple syrup is fall-ish, right?
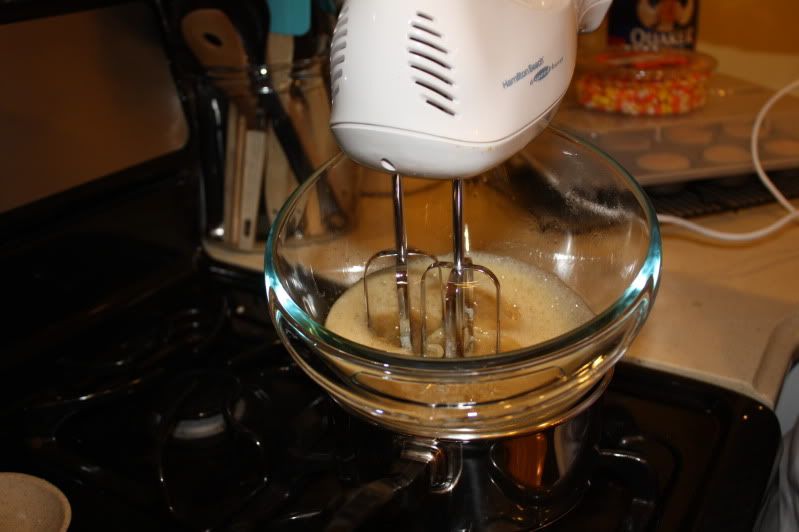
Start out by boiling some water in the bottom of a double-boiler, or if you're like me and don't own one, a regular pot that you can finagle into one with a glass bowl.
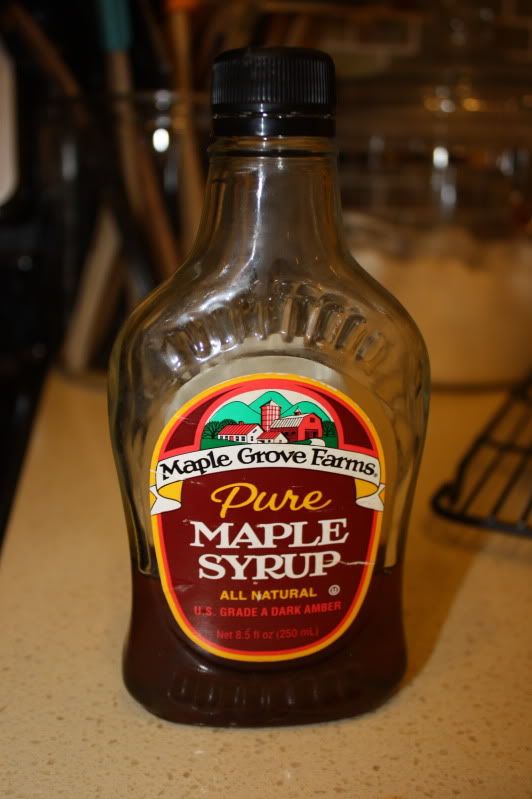
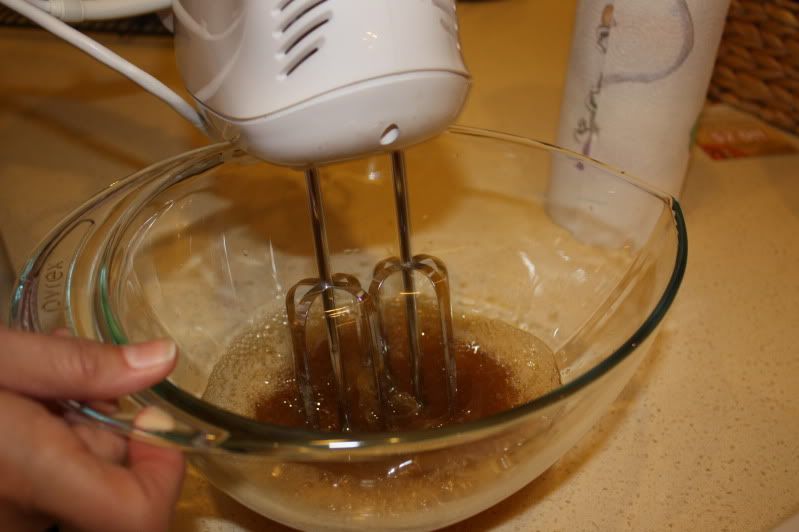
Combine the syrup (I used Maple Grove Farms pure maple syrup), egg whites, and cream of
tartar in the top of a double boiler. Beat with an electric mixer until well blended.
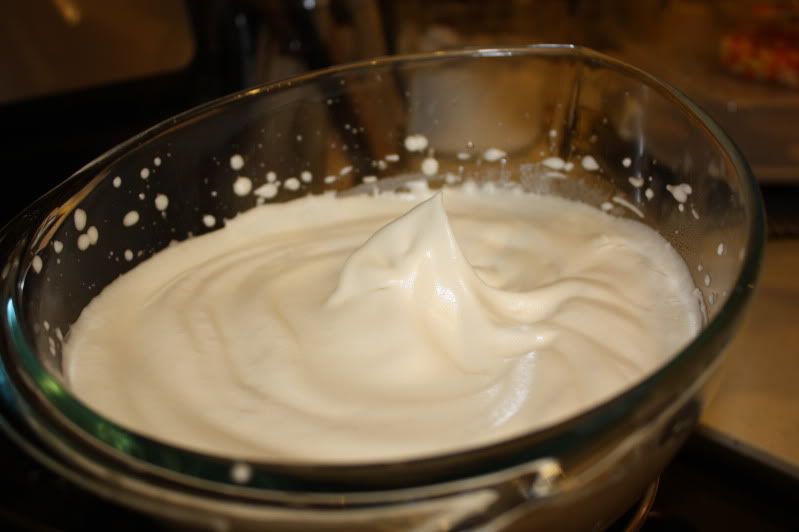
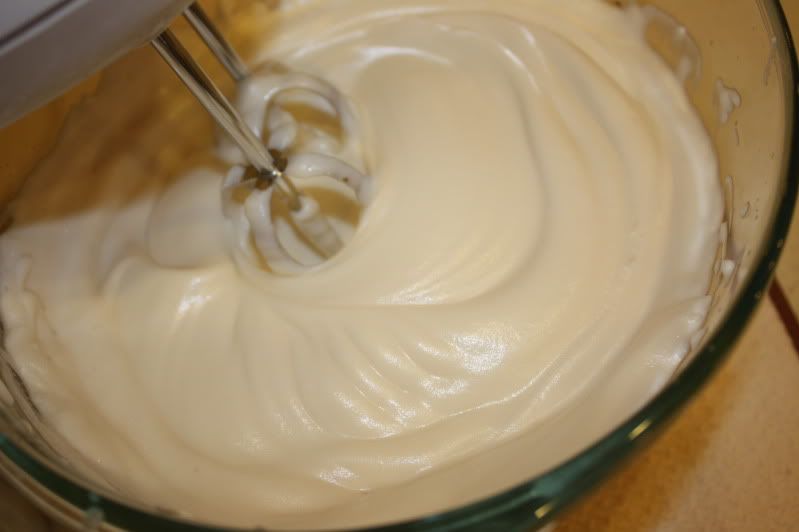
Place over rapidly boiling water. Beat for 7 minutes or until stiff peaks form. Your arm WILL be tired.
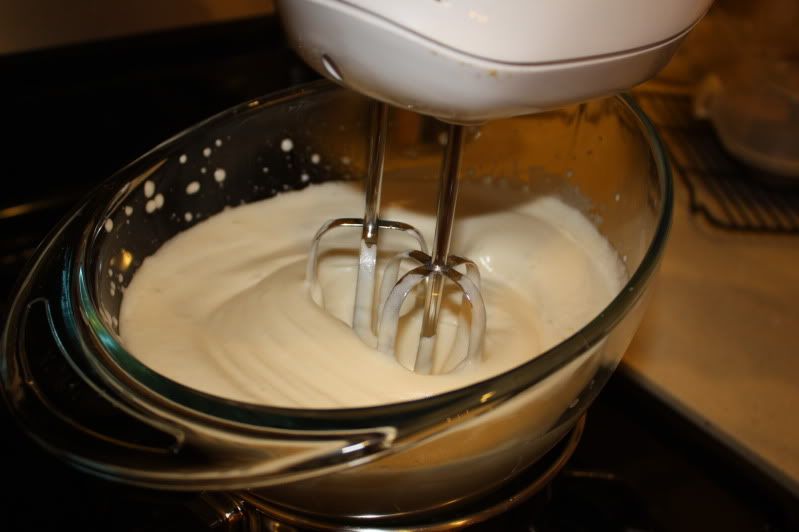
Remove the top of the double boiler from the water and continue beating for 5 minutes or
until thickened and fluffy.
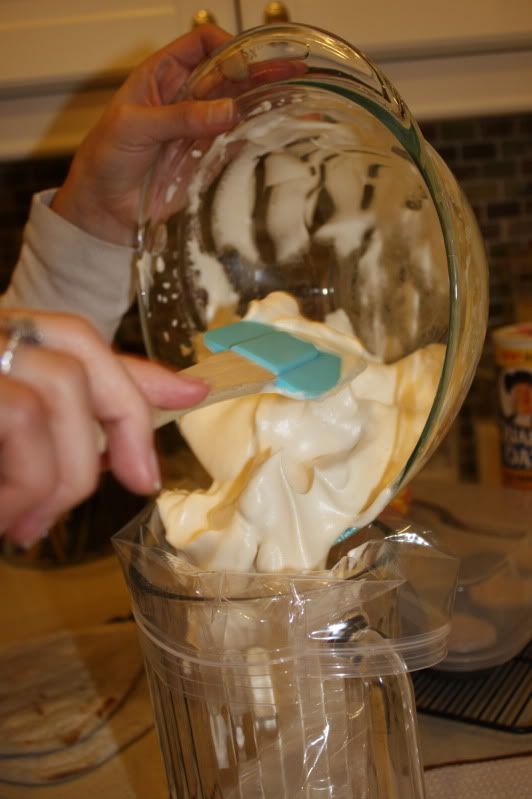
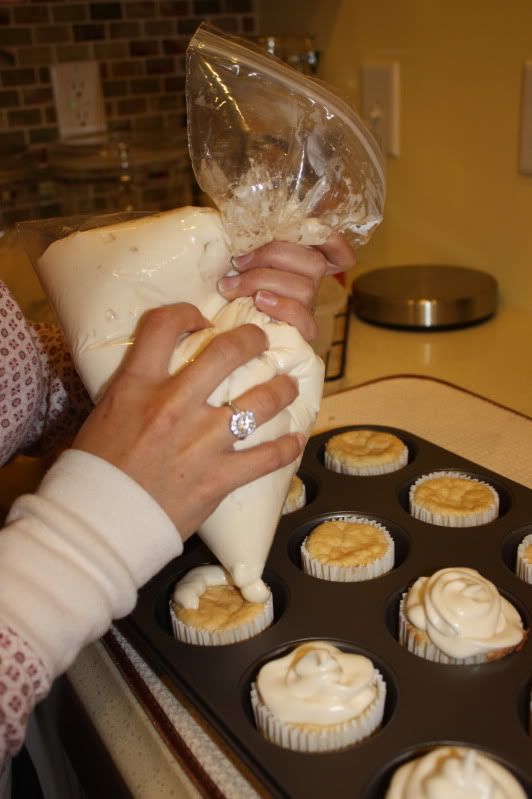
Load the 'frosting' into a piping bag (or a large zip-top bag). I find that it's easiest if I place the baggie into something shaped like a pitcher, so that I don't have to hold the bag open while trying to get the filling in there.
Remember how much the cupcakes shrank after a few minutes of cooling? Well, here's after a day of rest:
Man, those suckers shrink! Good thing we're covering them with frosting!
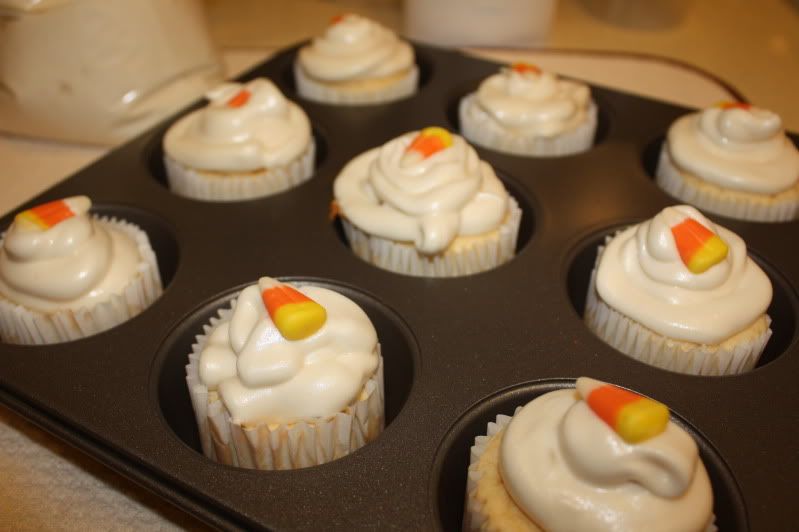
Cut the corner of the zip-top baggie off (or use a normal piping bag) and frost away! I need some practice as you can see, but I'm going to blame it on the texture of the frosting.
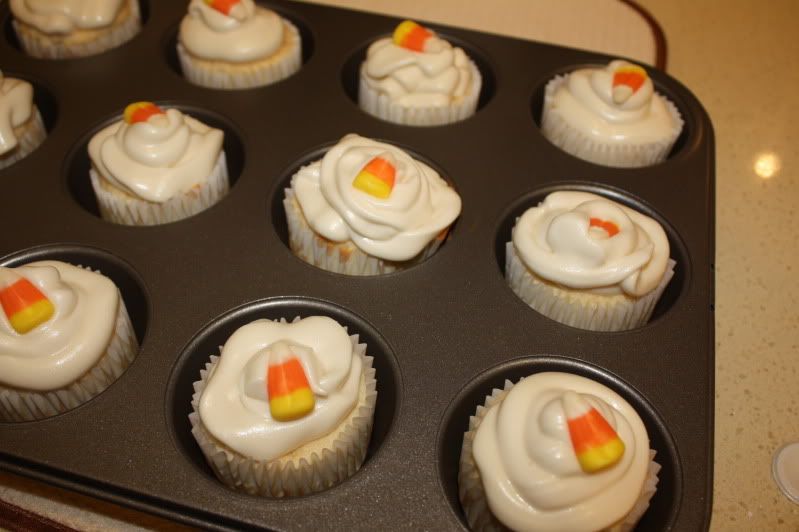
I tried to make them more festive by topping them off with candy corn.
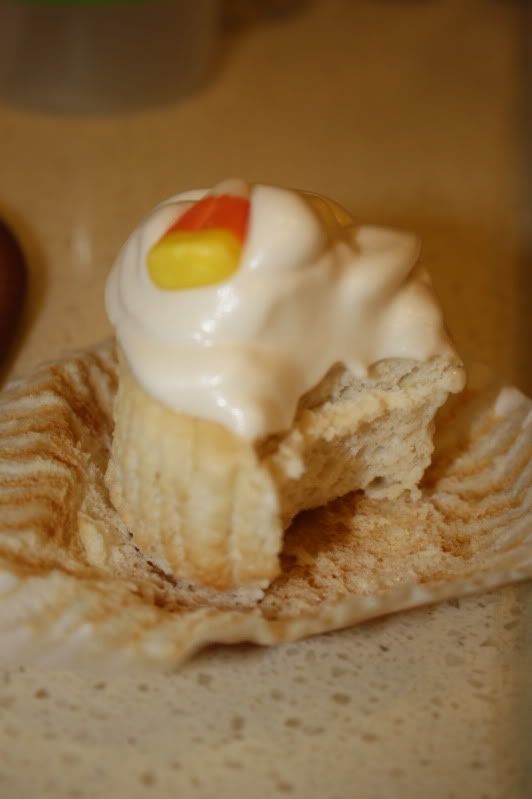
Time to taste:
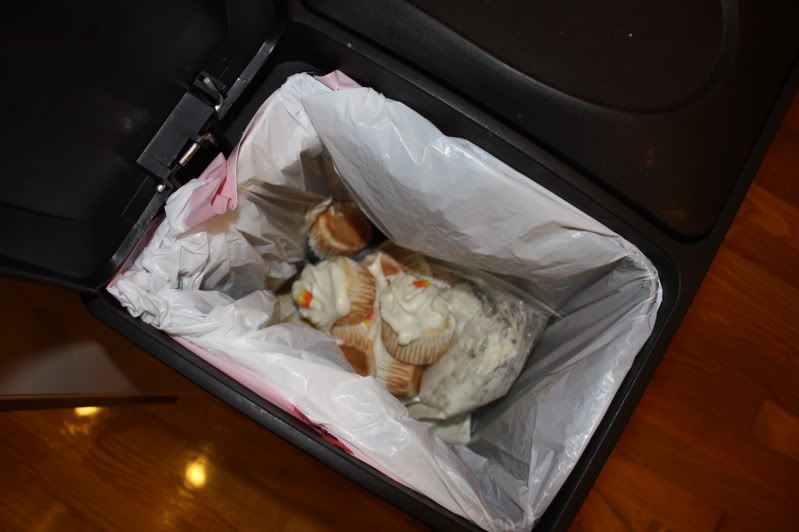
Verdict: If you're on a diet and want a cupcake, I don't think that these will really satisfy your craving. I say, grab a friend and share a real dessert that actually tastes good. The cupcake part wasn't horrible, but it was bland and rather small. The maple frosting was basically all air and it had more of a coffee flavor to me, but I'm guessing that's just from the type of syrup that I used. Needless to say, I wouldn't recommend this recipe to anyone. In fact, even though I hate to waste food....
Oh well, better luck next time!
No comments:
Post a Comment