The good thing about living in Hoboken is that there's lots of opportunities to meet new people in town. My husband and I tried out a couples meetup group for a pot-luck game night last month and it was loads of fun. One of the girls brought Sandra Lee's Red Velvet Bars for dessert and they were to die for. I was discussing my new blog with my friend who told me that he was going to have a bake-off at work the next day and that he wanted to throw a curveball and use a boxed cake mix. I immediately thought of these delicious bars and recommended that he make them. A few days later he told me that he was disappointed at the results... that they were really dry and the topping was thin. I thought, how could that be?? So, I set out to try the recipe for myself... and here are my results.
Why aren't they red? Well, because this was my fourth batch of the bars and I decided not to waste any more red food coloring if they turned out badly. Read on to discover why it took me FOUR batches to figure out the correct way to make these bars....
Red Velvet Bars: Takes 1-4
My first try, I followed the directions to a T... sort of.
1. Preheat the oven to 350 degrees. Check.
2. Spray 9 by13-inch baking pan lightly with cooking spray; set aside.
Well, I lined the dishes with parchment paper.
3. In a large mixing bowl, beat with an electric mixer on low speed,
cake mix, butter, egg, and food coloring until combined.
Okay, here's where I found that I needed to change something. The recipe calls for softened butter. My first batch I found it very hard for the mixer to incorporate the butter into the cake mix. It was SO dry. So for all future batches, I melted the butter completely and mixing was much easier. I have a KitchenAid Mixer and I set it to the lowest 'stir' setting and mixed the ingredients until JUST mixed.
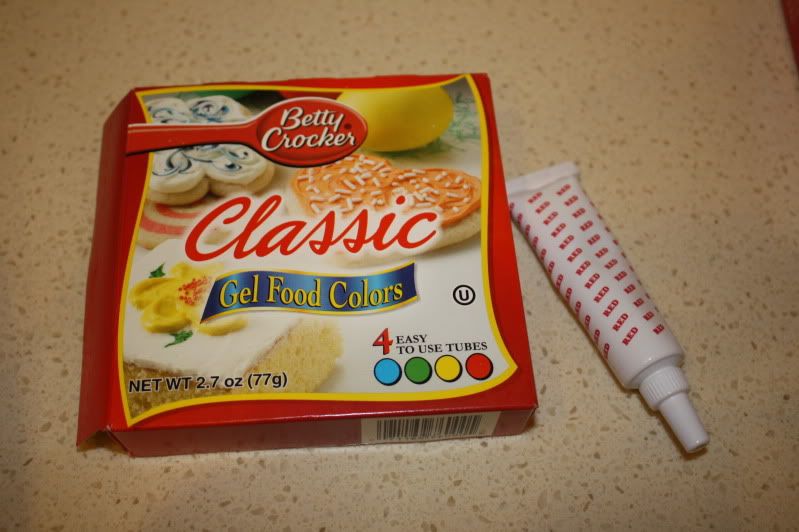
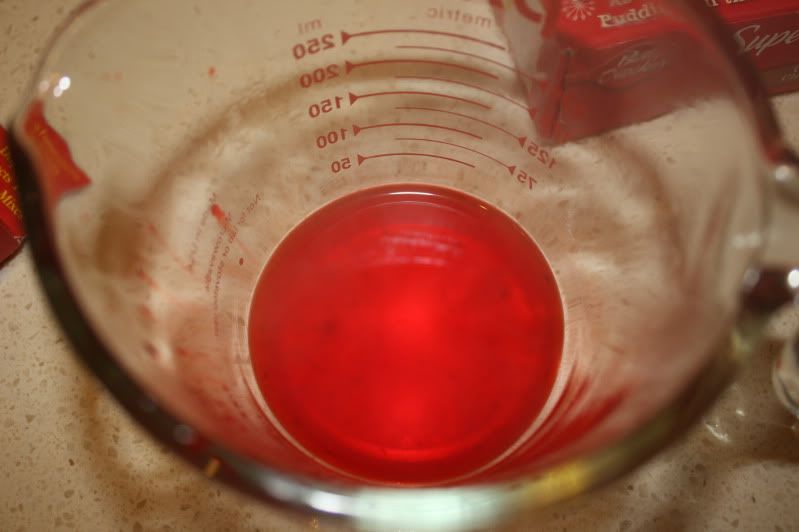
Also, the store only had gel food coloring so I just squeezed some into 1 oz. hot water. For the 3rd and 4th batches, I just used 1 oz. of water and no coloring.
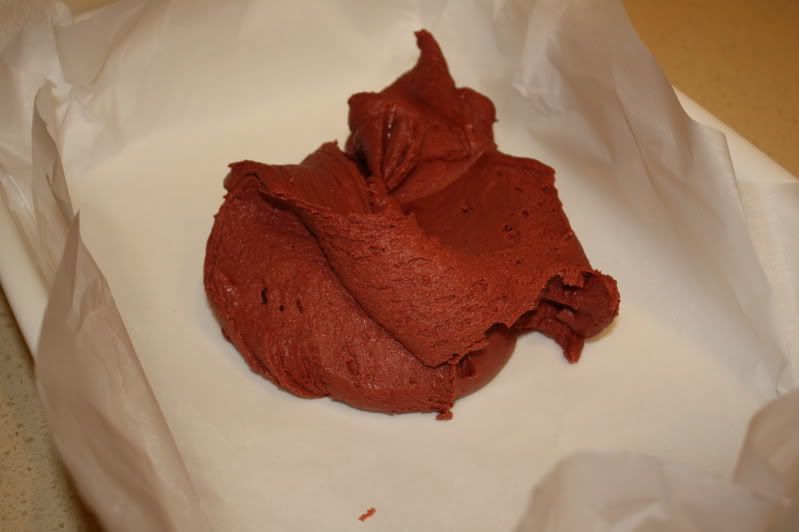
4. Press cake mixture into prepared pan; set aside.
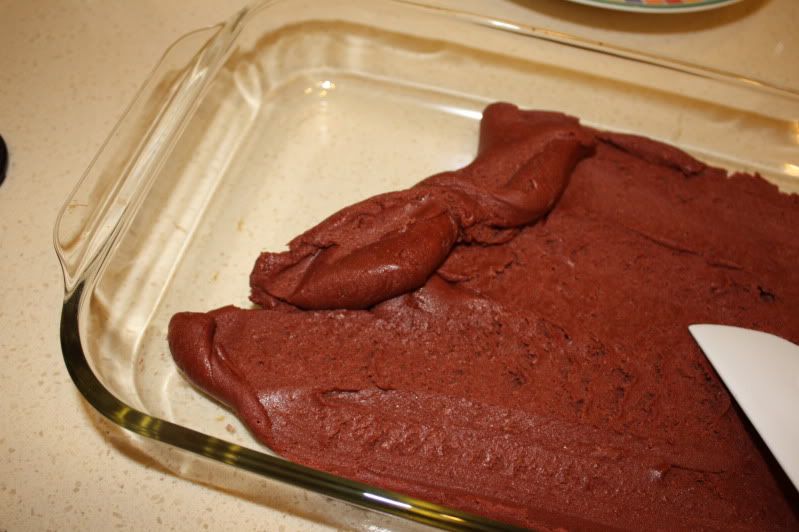
The first dry batch was so tough to press into the pan.
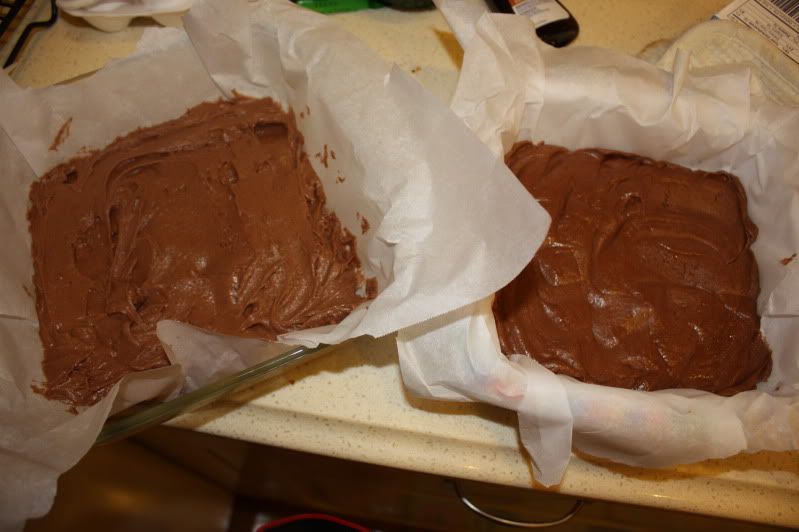
The rest of the batches were much easier with the melted butter. The one on the left has an additional 1/4 cup of cream in the batter. The one on the right is the original recipe, only with melted butter.
5. In a medium mixing bowl, beat cream cheese and sugar on medium speed until creamy.
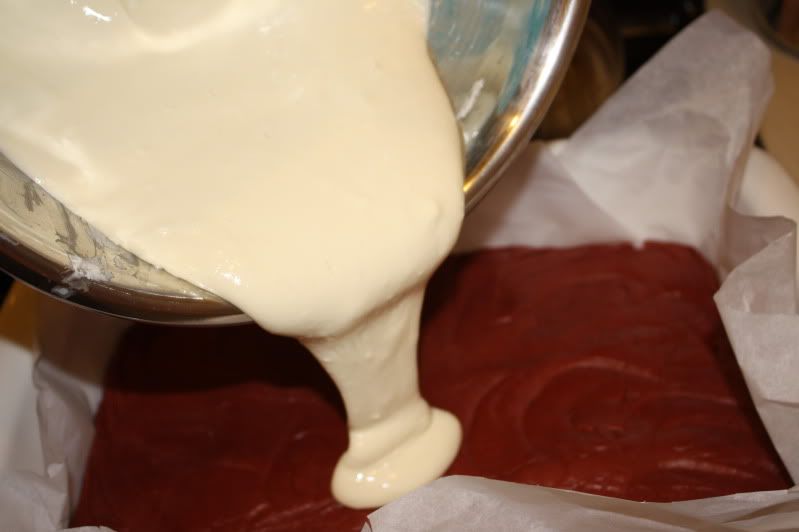
Add eggs and vanilla, beat to combine. Spread cream cheese mixture over cake layer.
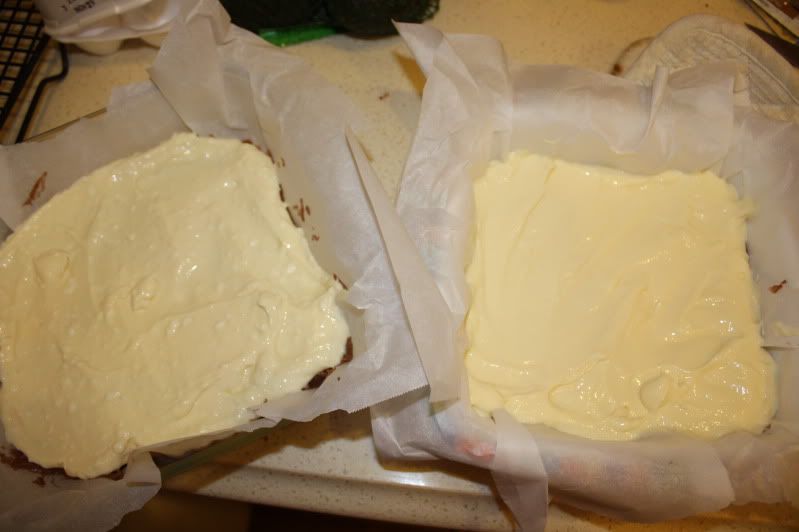
Here's what I'm talking about. You MUST cream the cheese and sugar together before adding the eggs. On the left, you can see all the lumps from the cheese that would not incorporate when taking a shortcut and trying to mix all the ingredients at one time. On the right, the topping is much smoother and creamier. Not only is it more attractive, but for the finished result, the topping will actually stay adhered to the cake. (Side note: I used neufchatel cheese or 1/3 less fat cream cheese and it worked just fine.)
6. Bake in preheated oven for 40 to 45 minutes, or until bars barely start to pull away from sides.
Cool completely before cutting.
Batch 1: 45 mins. They came out dry. I'm not sure if it's because it was baked too long, or if it was because the mix was overbeaten.
Batch 2: Baked for 33 mins. Reviews on the Food Network website said to bake for 25 mins, but I thought that the cheesecake topping wouldn't set up. This batch turned out much more dense. The topping was also less like cheesecake and more like cream cheese frosting. When I brought batches 1 and 2 into work for a taste test, everyone overwhelming chose batch 2. Personally, I thought that the topping was a little too gooey.
Batch 3: Baked for 40 minutes. This is the batch with the cream in the cake batter. The cake rose up much more than the others and was more moist, but not what I was looking for. Too fluffy.
See how much more the edges puffed up?
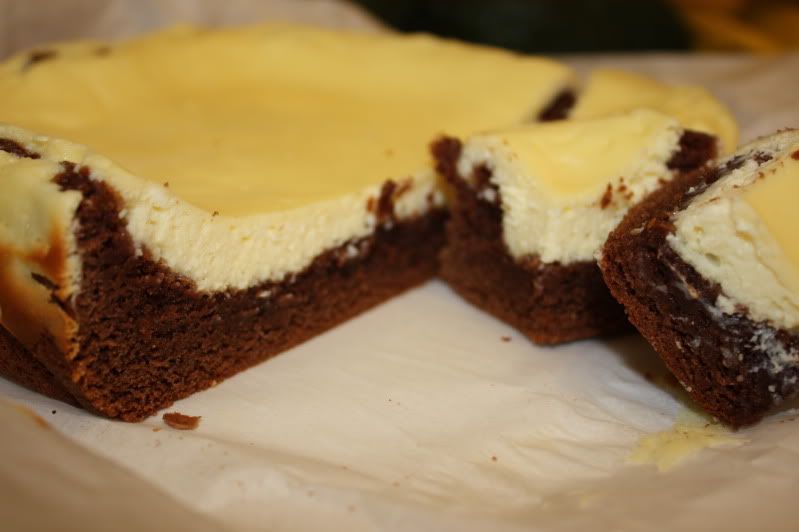
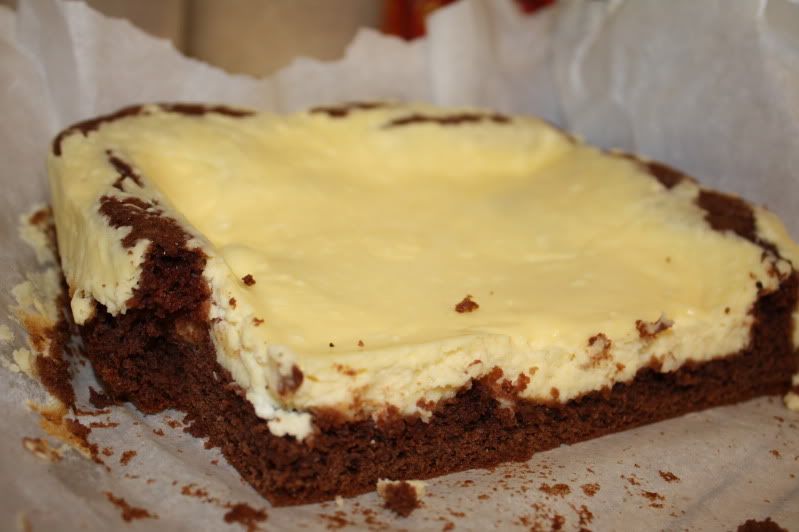
Batch 4: Baked 40 mins. Made with melted butter, and creamed the cheese and sugar together before adding the eggs. I also let it cool completely before cutting into it.
Batch 4: Baked 40 mins. Made with melted butter, and creamed the cheese and sugar together before adding the eggs. I also let it cool completely before cutting into it.
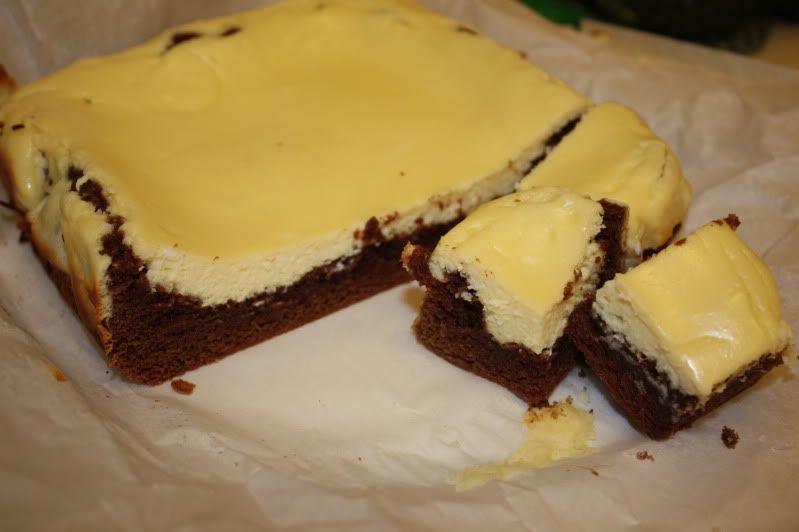
It looks really yellow, but it's not like that in real life. Bad lighting. Oops.
Verdict and lessons:
1. Use MELTED butter, not softened to avoid overbeating the cake mix.
2. DO NOT OVER MIX the cake layer, or it will be tough and dry.
2. Cream the cream cheese and sugar before adding eggs, or you well end up with a lumpy mess and a topping that will not stay attached to the cake layer.
3. DO NOT CUT INTO THE CAKE WHILE WARM. This is a hard one. It will be very tempting and you'll want to taste, but I promise that the results the next day or when cool will be much better.
4. Overall, I would say that these bars are much better the next day, after being refrigerated and thawed. They would probably freeze well.
5. Serve at room temperature.
6. I asked the person that originally baked these bars for the meetup and she said that she actually reduced the temperature by 25 degrees because she was using a non-stick pan and baked it the full 40 mins. I decided not to make a 5th batch to try this out, but next time I make them I certainly will!
I'm not good at #3 in Verdict and lessons.
ReplyDeleteAlso, I'm tempted to use applesauce instead of butter in the cake mix next time I attempt it. It's usually a hit or miss substitute, but my @ss isn't getting any smaller.
so how did they taste you didnt say
ReplyDeleteI tried batches 1 ans 2. I believe I preferred batch 2. Over all very tasty.
ReplyDelete